


Though there are several ways to use Windows XP on Windows 10 and 11, using it with the pre-installed image for VirtualBox adds many advantages. We prepared a Windows XP image with VirtualBox guest additions to make things easy. It will allow you to attach and use the latest computer quickly.
You can avoid downloading the correct ISO file, doing every installation step (Unfortunately, the Windows XP installations take a longer time) and additional steps by using this pre-installed image.
You may have unique reasons to have Windows XP on VirtualBox with Windows 11. It could be something you need to check the old legacy applications, play games that support only Windows XP, or open a file that can work only on Win XP. Using Windows XP as a VirtualBox pre-installed image (VDI file) will be handy in any of the above cases.
System Requirements
We believe you have the latest suitable hardware if you are using Windows 11 or 10. It will definitely run Windows XP on it with Oracle VirtualBox.
Download Windows XP Preinstalled VirtualBox Image and use it on Windows 11.
1) Make sure you have the latest Oracle VirtualBox application. It is a desktop virtualization software you can download from the official website here.
2) Download the XP preinstalled image from our website here.

3) You need to have the 7-Zip program to extract this file. You can download 7-Zip from their website here.
4) After the pre-installed image is downloaded, extract it using the 7-Zip program.

5) Open VirtualBox and create a new VM.
6) Give a name for VM and select the version as Windows XP (32bit).

7) Assign RAM size to 512MB.
8) Select ‘Use an existing virtual hard disk option’ on the hard disk creation screen. This will bring up a box where you can choose the available VDI file. We need to browse the Windows XP preinstalled image file we extracted in the earlier step.

9) Click on the ‘Add’ button and locate the file as shown below.

After attaching the file, complete the VM creation steps.
10) Before switching on the VM, let’s tweak a few settings to make the VM work better.
11) Open the VM settings and tick the ‘Enable I/O APIC’ under ‘System’ settings. This will enable us to allocate more the one processer core for the VM.

12) Then, in the ‘Processor’ tab, increase the processers to 2.

13) Power on the VM now. Since all installation steps are done, and VirtualBox guest additions are installed already, the Windows XP on VirtualBox virtual machine will boot and work smoothly.
Network connectivity (Internet), sound and multiple screen resolutions, including full-screen mode, will work perfectly.
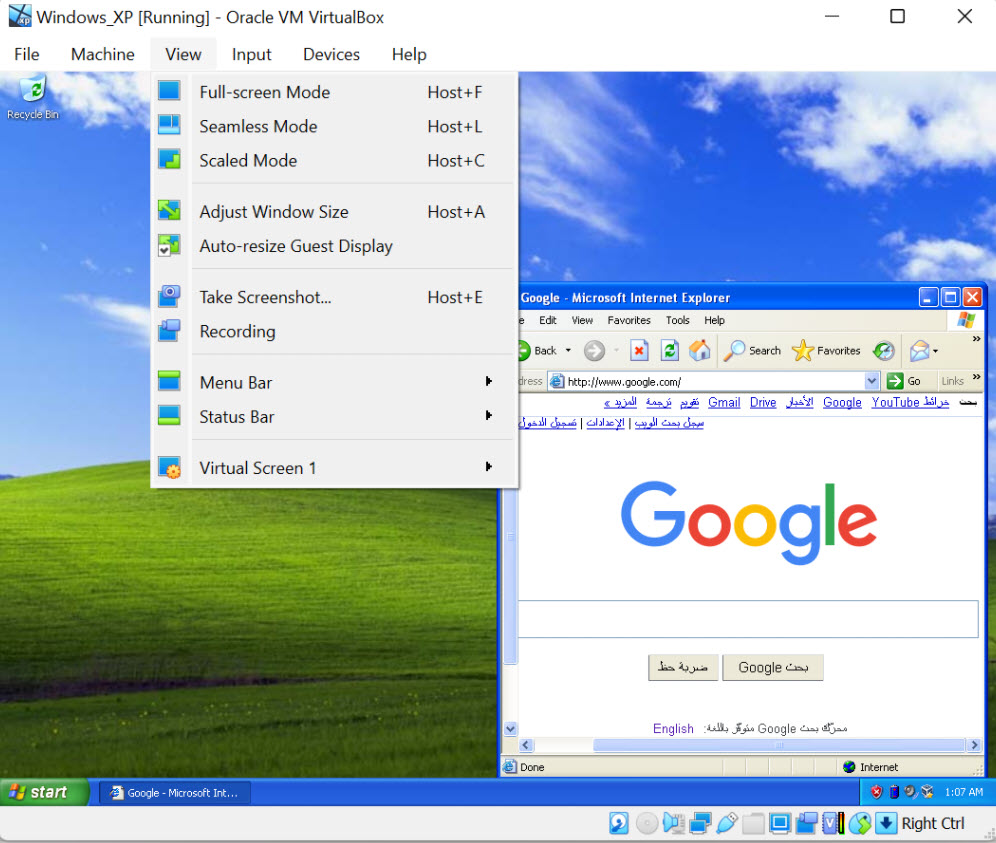
You can change the user or Administrator password.
You should have a working Windows XP virtual machine on your Windows 11/10 physical computer. It is highly recommended to take a snapshot before you make any changes.
Since VirtualBox guest additions are installed on this VM, you can quickly transfer the files/folders between the host and the guest virtual machine. It should be easy to test the legacy applications, games and other activities requiring Windows XP on the latest Windows 11 computer.
Troubleshooting Tips for Windows XP on VirtualBox
Based on the user feedback and findings, here are some troubleshooting tips if your Windows XP virtual machine is not booting or is stuck with the black screen.
- As mentioned in system requirements, if your host computer is Windows 10 or 11, it already has virtualization technology enabled in the BIOS. But, if you are using Windows 8 or 7 without VT-x enabled, you need to enable VT-x in BIOS before trying these steps.
- You can change the chipset under the motherboard settings of the Windows XP virtual machine. It worked for me with PIIX3, but few users reported it worked with ICH9. So, it is better to change the try on your PC.

