

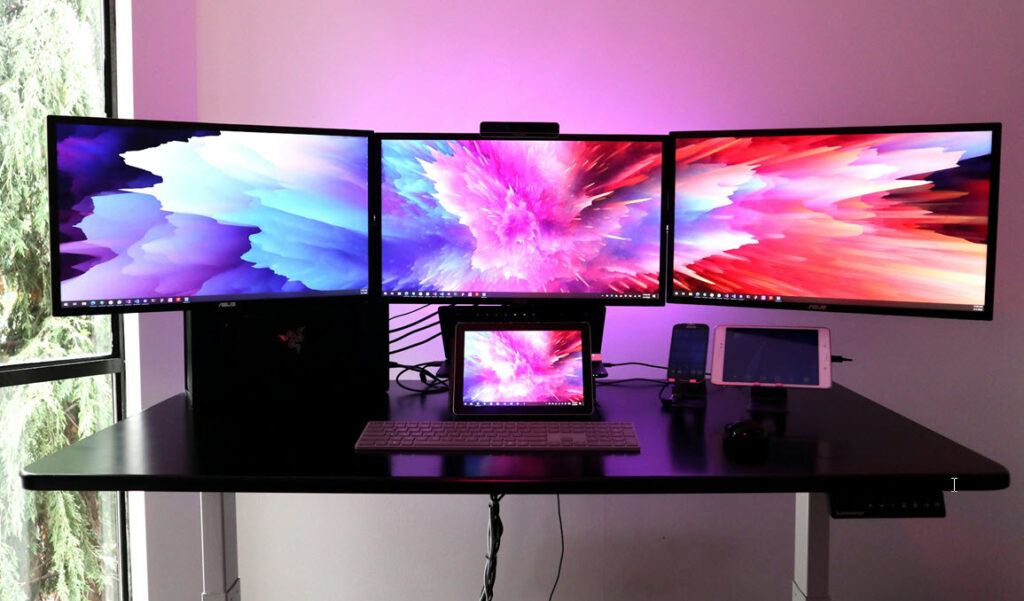
Most PC and laptop users won’t know anything about calibrating their monitors to ensure accurate colour is being displayed. It’s not something that many know about, as they’ll simply use a device to enjoy a range of activities and not necessarily know (or care) about the technologies that run their devices. As long as they believe their device is depicting the right images, many won’t know the difference.
However, it can be essential to conduct checks, especially over time, as a monitor gets older, as pixels can burn out. Colours can begin to appear differently, which can impact many daily tasks, such as online shopping. For professionals who work in photo editing or creating imagery, having a monitor that isn’t calibrated properly can be harmful to their careers.
Why Monitor Calibration Is Important
Before learning how to calibrate your monitor on Windows accurately, let’s review some of the reasons why it’s essential to do so.
As noted, colours that are witnessed on your monitor can change over time, meaning they may become inaccurate. Colours may start to look washed out, warmer or cooler than they are supposed to.
If a photo editor is working on a project and sees a certain colour they like on their monitor, it may not be the same when it comes to print or is viewed digitally by someone else. This can create a level of inconsistency, as viewers may all see something different and react in unique ways without seeing the intended message in the same way as the designer.
A knock-on effect for those who print physical copies of the images could be the financial cost it entails. Printing is already an expensive activity due to the cost associated with printer ink. If a project has been produced with a monitor that hasn’t been calibrated properly, a different shade of the colour that is visible on screen could appear on the paper. This colour may not have the same impact, as it may not accurately represent the item’s true colour, leading to customer dissatisfaction.
It’s not just photos, as videos can be impacted when a monitor hasn’t been calibrated properly. When editing videos, colour grading is an important aspect for editors to go over, as there can be inaccuracies in the colour of different shots that are captured, especially if they are recorded on different or multiple devices.
High quality LUTs can be used as they are designed to colour grade your videos quickly. They can be seamlessly integrated into videos using most software programmes. They act as colour filters, containing pre-defined colour transformations that can be applied to footage to achieve specific looks or colour grades.
How do I Accurately Calibrate my Monitor on Windows?
Users of the Windows operating system can use a built-in tool to calibrate their monitors for accurate colours. There is a tool known as ‘Display Colour Calibration’, which can be used to ensure your monitor displays colours, brightness, and contrasts as accurately as possible.
To use this tool effectively, you must follow these steps:
- On Windows 10 and 11 systems, press the ‘Windows Key’ and ‘R’ together. Type ‘dccw’ into the field and press Enter to open the ‘Display Colour Calibration’ tool. It can also be found in the Control Panel or the Start menu.
- Follow the on-screen calibration steps, as they will guide you through adjustments for Gamma, Brightness, Contrast, and Colour Balance. These will each aim to provide accurate outputs.
- Once these steps have been completed, save your changes by hitting ‘Finish’. The new settings will be applied and remain in effect each time the system is used.
- If you use the monitor for professional work, such as photo editing, it may be worth using a hardware colorimeter to help produce extremely accurate results. The built-in tool relies on the user’s own visual judgment, which may still produce inaccuracies, especially if the monitor hasn’t been warmed up before the start of the process or if the user has poor eyesight.
Once these steps have been followed, your monitor using the Windows operating system should depict colours accurately.
If you complete the process for the first time on an old system, you’ll likely be left in awe by the difference that is achieved.